


Behind The Scenes Footage
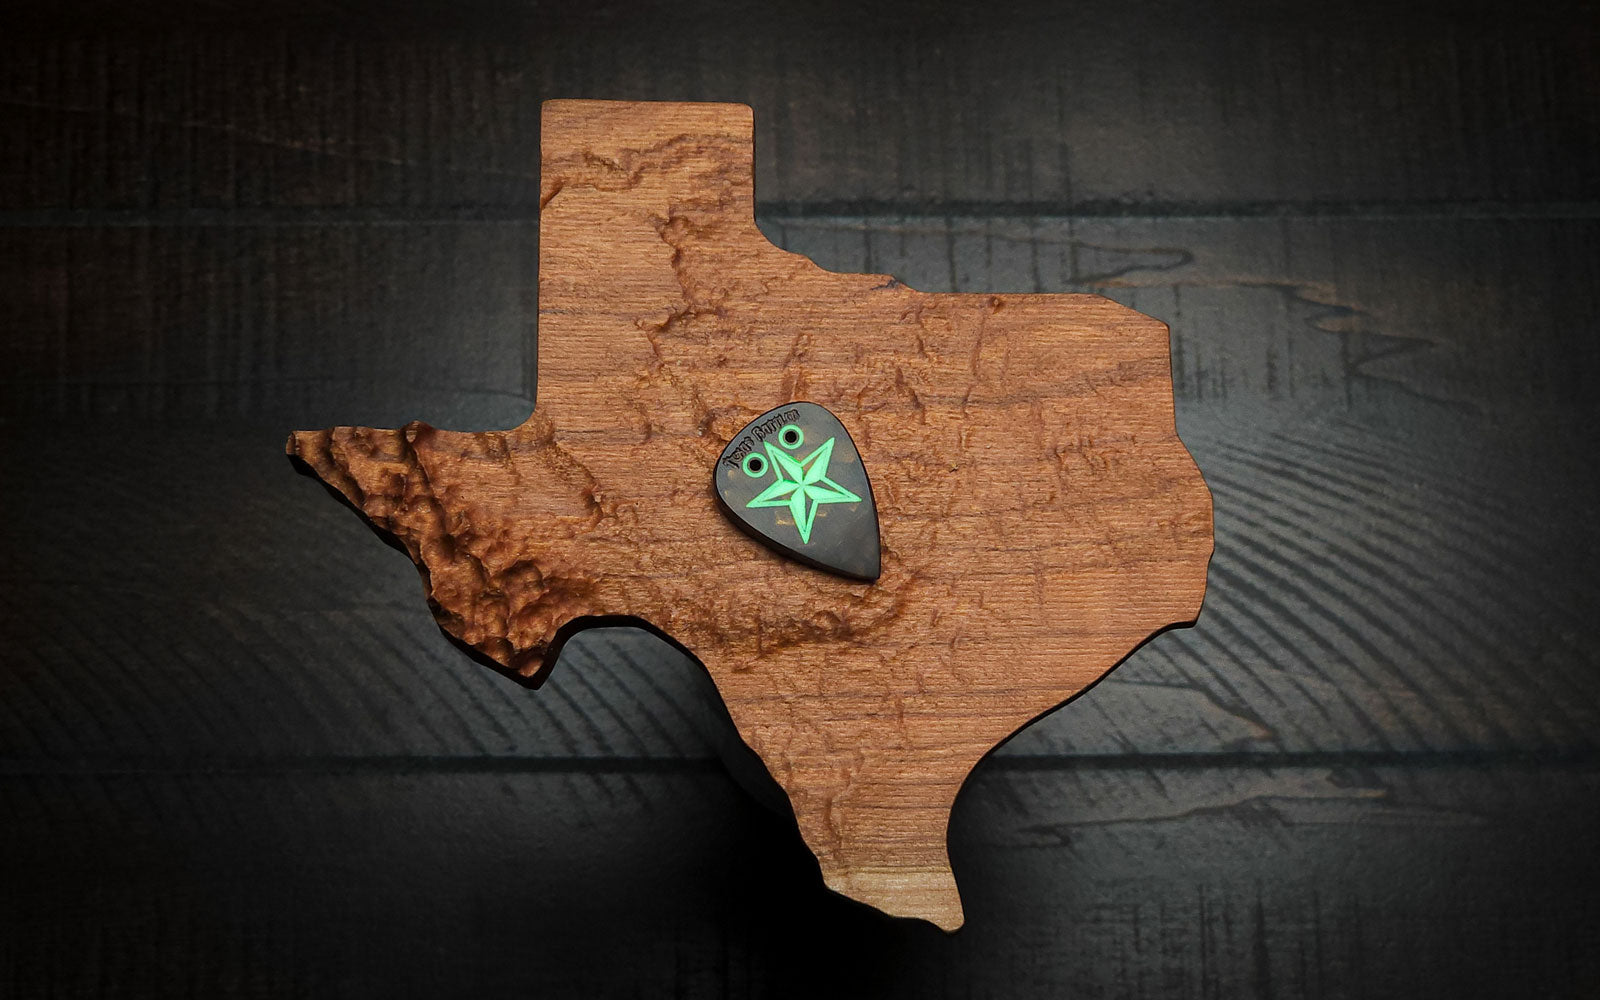
The Texas Rattler pick is viciously sharp & has been with us since June of 2018.
Typically we only make this pick a couple times a year & with summer just around the corner,
we thought about making this release a extra special by showing some behind the scenes footage of how we make this limited edition guitar pick.
Scroll further down for the 6 minute video of how we make it from start to finish.
Furthermore, there's going to be some commentary in this article & more details about the pick if you're interested in going deeper.

MATERIAL & FEATURES
I see there's a loads of people worldwide trying to get into selling their own guitar picks whereas when we started there was only a handful of players.
So without going into too much detail of what material exactly we use, or giving too much away,
we can compare it to the the faux ivory material used to make one of our staple products, the Ivory Parthenon "Spearhead".
It's a solid & sturdy material & we prefer to finish it in a satin texture to add a bit of extra "bite" to the tone & feel as it glides across the guitar strings.
Durability is good and we've received feedback from people who have used this pick for MONTHS on end.
Sure the pick is not as razor-sharp as originally but it's still very usable & the players plenty satisfied with the results.
Some features about the Texas Rattler is that it's an elongated pick &
is definitely longer than your run-of-the-mill "351" pick - very pointy too.
Combined with the minimalistic beveling,
this adds much more material for you to wear through & helps to extend the longevity of the guitar pick.
A third point is that the added material provides more room for the pick to mold its bevels to your playing style.
The profile is also tapered as you'll see in the video (@ 4:42),
so while it's thick where you grasp the pick (which makes it more comfortable to hold),
the point is actually tapered down to something more playable that akin to a 1.5mm pick.
Really though, don't let the 3mm+ thickness scare you,
especially if made by a reputable pick-maker who knows what they're doing.
Related: How to hold a guitar pick properly
How It's Made
Without further ado, take a look at everything that goes into making our picks.
You'll see it's more than creating a mold, pumping it full of molten plastic, & calling it a day.
Related: Guitar Pick SVG File For Making Your Own Picks
WHERE TO FIND IT
We hope you enjoyed the video!
You can find the "Rattler" in its den when available here >TX Rattler Plectrum<
If you would like to see more footage of how our picks are made,
check out these two entries where me make resin picks from material provided to us by Kaotic Artworks.
>How It's Made KAW Pick #1<
>How It's Made KAW Pick #2<
Below we're just going to explain a little bit more of what went on in the video & provide further detail.
Precision Machining
It's clear that we use a CNC (Computer Numeric Controlled) machine to make our "handcrafted" guitar picksbut it's not as easy as just bolting a piece of material onto the machine & pressing GO.
In this case we used a total of 7 main operations & 3 tool changes including:
- Planing the material to thickness
- Sanding off the machining marks
- Engraving the main star & eyelets
- Filling the engravings with a mixture of glow resin
- Engraving the top with "TX Rattler"
- Drilling the eyelet/fang holes
- Finally, cutting out the pick shape
This whole process took about 1 hour,
or 2 if you count the time we had to leave the resin to cure.
The weather here in Texas can be a burden as summer approaches but at least the resin cures quickly instead of waiting hours in the colder months.
After going through all of the steps mentioned above,
our precision work is out of the way & we now have perfect Texas Rattler "Pick Blanks" on hand.
It's now time to move onto the handcrafting portion of our process.
Handcrafted - Sculpted, Beveled, & Finished
Now we move onto finishing our "Pick Blank".
The pick blanks are what we keep track of in our inventory & typically we don't finish 100% making them until you order the pick.
Otherwise we'll hold onto our pick blanks and focus our limited workforce on more pending matters
like fulfilling orders, packaging, customer service, & creating content like this.
So the handcrafted stages as shown in the video can be broken down into
just 3 main processes:
- Machine belt sanding
- Hand-sanding, sculpting, beveling, & overall finishing
- Washing & final touches
At this point we've invested a whole lot of time & effort into making our Texas Rattler picks, but really there's still danger at every step.
Yes even now, & especially with this first sanding step on the belt sander, we can lose all of our work with a single mishap or failure to concentrate.
The thing about this pick-making process is that there are many stages, & it doesn't matter if you made it 90% of the way,
you can still damage & ruin the pick in the later stages just as much as on the CNC.
With the belt sanding stage you have to have a steady hand, muscle memory that comes from practice, & good eye-hand coordination in general.
Apart from that, I think that the most important thing to clearing this stage is being able to be present in the moment while also visualizing the finished product.
Next is hand-sanding...
We used 3 stages of this using various grits to shape, blend, get rid of any machining marks, & bevel the pick.
This also requires much practice but generally it's easier to correct mistakes if you catch them early.
To finish things up,
we wash & scrub our picks in soapy water to get rid of dust that might be stuck in engravings.
Finally we dry the picks so they're nice and clean & add a dab of special wax which we've been doing for years as an extra detail to our products.
We found this "Ren Wax" when going through woodworking forums & videos on how other industries operate and what processes they use to make their products.
The reason we chose restoration wax is because it leaves behind a "grippy" matte-feeling texture that repels water & sweat.
It also protects & seals materials like wood - We still use it on our wood picks & guitar trays.
Finally it enhances the look of our picks by filling in light scratch marks & making the colors pop with a soft glowing sheen.
So there you have it, that's one of our "secret sauces" & you heard it here first ;)
In Closing

We hope you enjoyed the video content & if you got this far,
thank you for reading our written content!
We hope you took some insights into how our guitar picks are made.
Most of all though,
we would appreciate if you could take a sec to comment below with some feedback.
What did you like the most about the video/article, or what could we improve on?
Just let us know your thoughts about what other content you would like to see & thanks in advance!
-The Iron Age Team

Also in Codex | General


Making Sol Invictus: Red Resin Picks & Solar Inspiration
A red-orange resin sheet sat in the shop for years before it finally became the limited Sol Invictus guitar picks. This Craft & Creation entry follows the process from CNC planing and engraving to hand finishing, wax, and the final satin glow.


Oisín: The Last Warrior-Poet of the Heroic Age
Oisín is more than a figure from Irish myth. As the last warrior-poet of a vanished heroic age, he stands between worlds: youth and age, myth and history, beauty and loss...


How To Choose a Guitar Kill Switch in 60 Seconds
Trying to pick the right guitar killswitch without overthinking it? In 60 seconds, I’ll walk you through momentary vs latching, drill vs drop-in, and LED options so you can choose the right Iron Age switch and get back to playing...


Battleworn: Myth & Meaning of The Gladiator Picks
Rehearsal is the arena before the arena: a room, a count-in, and the moment where your right hand has to hold steady. Gladiator is a 3mm Ultem roster built to stay put, stay sharp, and earn meaning through use—one round at a time.


Empyrean MMXXVI – Build Log from the Bench
Empyrean MMXXVI started as a long-shelved slab of “stormed” resin and a simple idea: carve a crown out of the heavens and make it playable. This is the build log of what happened when that crown cracked—and how forty-eight picks were rebuilt to finally hold...


Spec Changelog: Jan–June 2026
This is a running log of buyer-visible spec changes for Iron Age gear from January–June 2026. Picks, knobs, killswitches, and policies are listed by date with a short note on what changed, why, and what you might notice in use...
Alex Rodea
Author
Alex is a former U.S. Marine avionics technician turned founder of Iron Age Guitar Accessories, a one-man shop building boutique picks, knobs, and kill-switches since 2015. He applies systems thinking, precision machining, and insights from thousands of shipped orders and customer reviews to write practical guides on tone, materials, and design for serious players.