







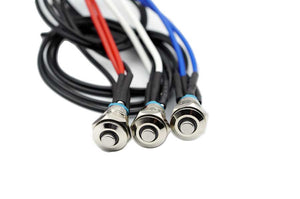

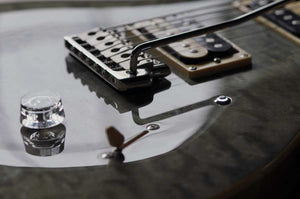
Mini LED Killswitch (No Drilling Required)
$33.00
Kill Your Signal, Not Your Tone
Pro-Level Stutter and Mute Effects With a Single Press
-
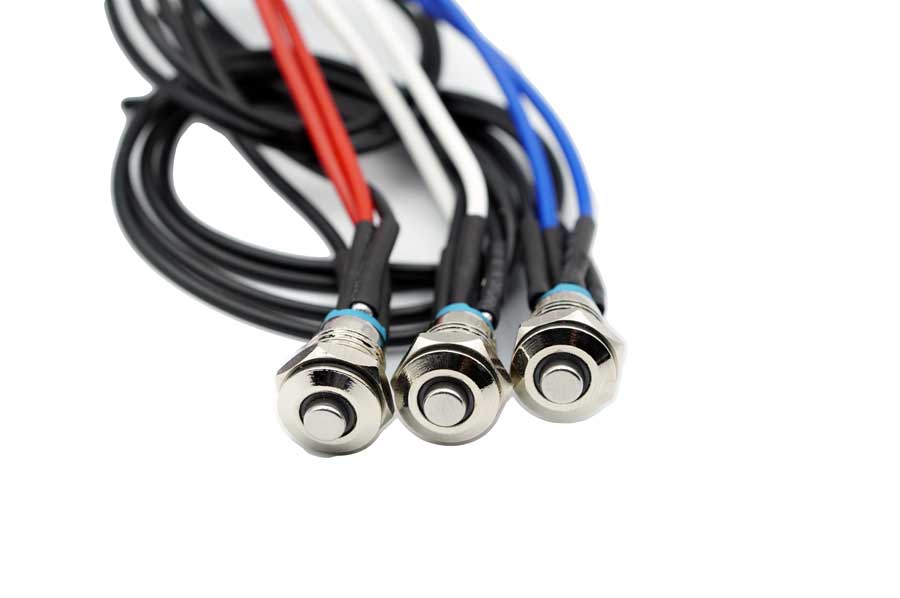
A killswitch lets you turn silence into part of your playing. The Mini LED Killswitch delivers the same tight, stutter-style mute effect as the full-size switches in a compact format designed to drop into an existing potentiometer hole, so there is no drilling required.
The 6mm button gives your finger a larger target while the softer spring makes rapid taps and rhythmic kills easier to execute. Its compact size keeps the switch unobtrusive while still giving you a responsive surface for fast, deliberate activation.
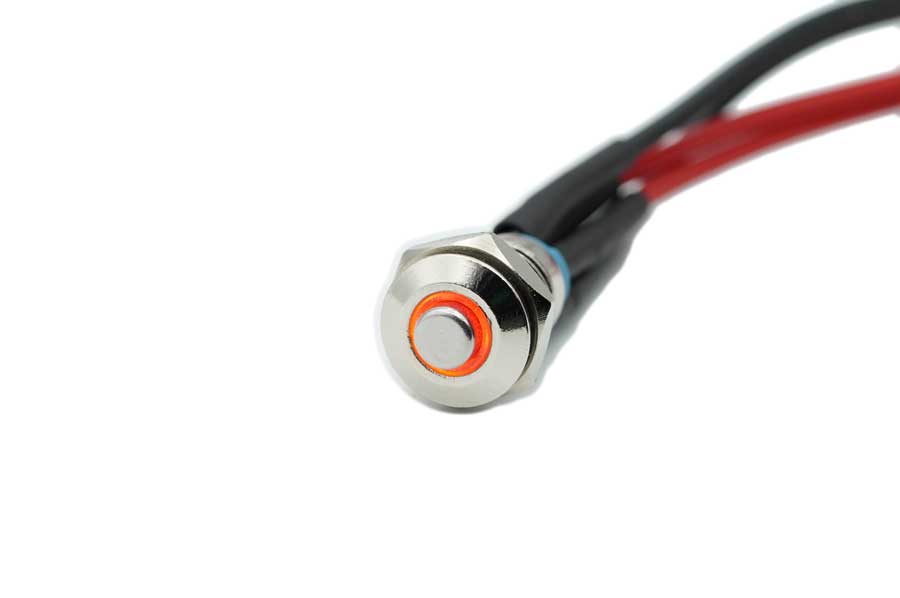
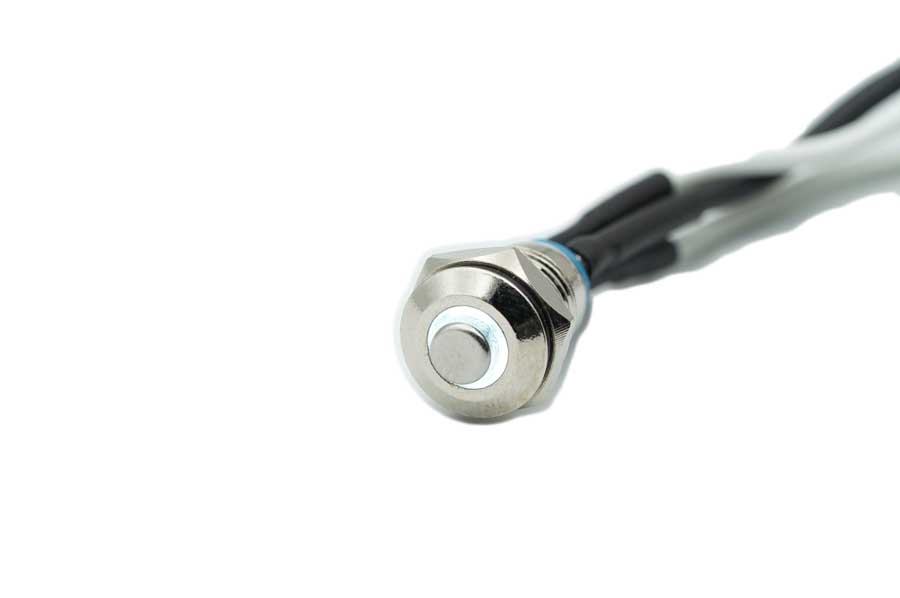
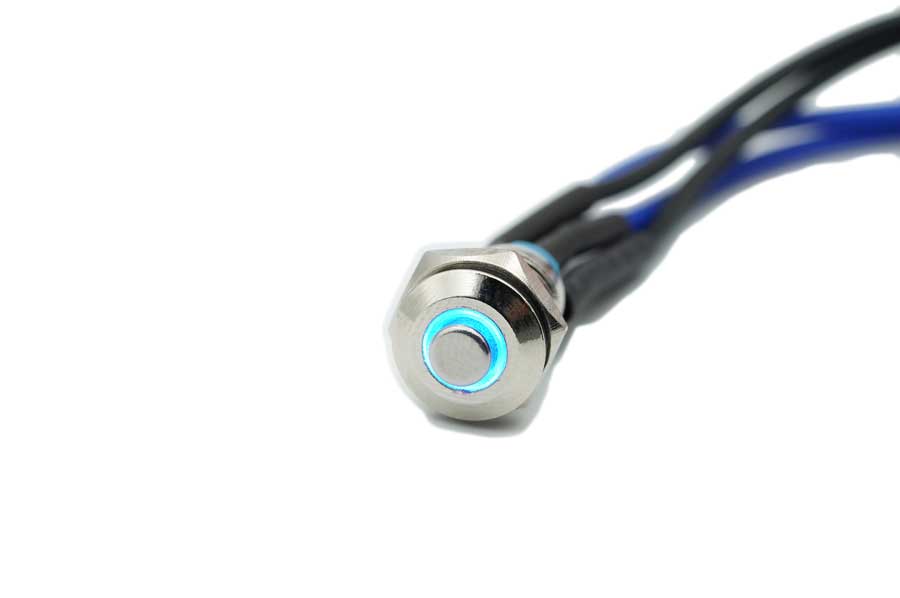
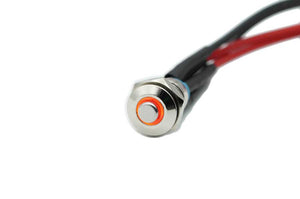
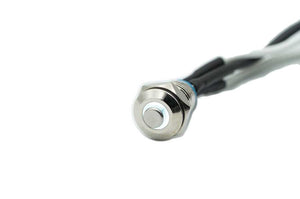
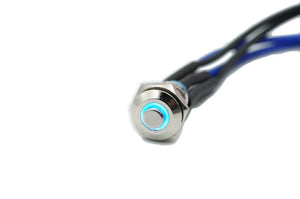
The LED creates a soft, diffused glow around the button, providing a useful visual reference in low-light environments without overpowering the compact appearance of the switch. If you prefer a completely understated setup, the LED can simply be left unwired.
Each switch ships pre-wired with leads already attached, helping simplify installation and reduce the amount of prep work required. Instead of soldering directly to the switch terminals, you or your tech can work from the attached leads for a cleaner, more streamlined install.
The switch remains a reversible modification, allowing you to return the guitar to stock or move the killswitch to another instrument later.
Previous Mini Versions
Earlier Mini killswitch versions used a smaller button and a stiffer spring. Those versions have now been discontinued, with the current 6mm design becoming the standard going forward.
For wiring logic, power options, and jack diagrams, see the How They Work and Compatibility tabs.
-
A mini killswitch does the same job as the full-size version: when you press the button, your guitar signal mutes; when you release it, your sound comes right back.
Electrically, it is a momentary mute that briefly sends your output signal to ground at the jack, giving the signal a safe path away from the amp for as long as the button is held.Inside this model you are dealing with two separate wire pairs:
-
Two black wires for the killswitch (mute) function
-
Two white or colored wires for the LED
The two circuits do not interact with each other. You can leave the LED wires disconnected if you do not want light; the black pair still handles the mute at 100 percent.
Because this is a hard mute at the output, it is intended for high-gain, distorted, or heavily processed rigs, where the mute feels tight and any small mechanical noise is naturally buried in the mix.
On very clean tones at high volume, you may hear a bit of popping as the signal cuts in and out. That is normal for this style of effect, not a defect. -
-
This Mini LED Killswitch is designed to work with both passive and active setups, and to drop into most standard potentiometer holes for a clean, often reversible install.
Basic wiring logic
-
Black pair (killswitch):
-
One black wire to tip / hot at the jack
-
One black wire to sleeve / ground at the jack
-
-
LED pair (white/colored):
-
Choose one LED wire as LED+ and attach the resistor to that wire
-
The remaining LED wire becomes LED– and returns to ground
-
Passive vs active guitars
-
If your guitar already has a 9V battery for active pickups or a preamp, you can usually power the LED from that source using the included resistor and correct wiring.
-
If your guitar is fully passive, you can add a dedicated 9V battery or compact CR2032-style pack to run the LED. Both setups use the included inline resistor.
-
For higher-voltage systems like 18V or 24V, just leave a note in the order comments with your planned voltage and I will include the appropriate higher-value resistor. If you want the full breakdown of values, you can also check the LED Voltage Guide.
Mono vs stereo jack behavior
-
With a mono jack, the LED will stay on whenever it has power, unless you add a separate on/off switch (as in the installation kits).
-
With a stereo jack and proper wiring, you can have the LED turn on automatically when a cable is inserted, just like a typical active pickup setup.
If you prefer not to run a light at all, cap the two LED wires and leave them disconnected; the killswitch pair still handles the mute function on its own. For jack-first layouts and diagrams, see the How To Install page, and for EMG or Fishman Fluence setups, you can also reference the dedicated EMG/Fluence Install guide.
-
-
6mm Button & Soft Actuation
The 6mm button provides a generous target for fast or aggressive playing, while the softer spring requires less pressure to activate. This makes repeated taps and rhythmic kills feel quick and responsive.
No-Drill, Drop-In Design
Sized to fit most standard potentiometer holes, the Mini Killswitch can replace an unused tone or volume control without drilling an additional hole into the guitar.
Compact Footprint, Full Killswitch Effect
The smaller housing gives you the same momentary mute function as the larger killswitch models while taking up less space on the guitar's control layout.
Diffused LED Illumination
The LED creates a soft, diffused glow around the button, providing a useful visual reference in low-light environments while keeping the appearance relatively understated.
Pre-Wired for Faster Installs
Each unit ships with leads already attached, reducing prep work and making installation more streamlined. Two wires handle the mute function and two handle the LED.
Reversible Modification
Because the switch uses an existing potentiometer hole, you can return the guitar to stock or move the switch to another instrument later.
Clear specs
- Install diameter: 7.85 mm
- Overall diameter 9.85mm
-
Depth required: approximately 30 mm
If you need a stereo jack, dedicated LED power, or an LED on/off toggle, the killswitch installation kits include the jack, I/O switch, and battery options to complete the setup.
-
Every Iron Age killswitch is backed by a 365-day functional warranty. If this switch fails under normal use within the first year, I replace it. That’s the baseline: we stand behind what we ship, and if the part is at fault, you get a fresh one.
Most issues that come up are install-related, so I’ll usually start with a quick wiring check or ask for a cavity/jack photo to troubleshoot the circuit with you. If it turns out to be a defective switch rather than the install, I send a replacement instead of giving you the runaround.
For change-of-mind situations, standard 30-day returns and exchanges apply to eligible, non-custom items as long as they’re still in mint condition. If you ever have a question about whether something is covered, reach out with your order number and what you’re seeing, and I’ll look at the facts and handle it on the merits.
&media=https://ironageaccessories.com/cdn/shop/files/ironageminiLEDkillswitches1_600x.jpg?v=1787696207)